
Estimated reading time: 8 minutes
5 Heartfelt Candy Cane Nails Ideas for a Fun Festive Tradition
Table of Contents
- Introduction: Embrace the Holiday Spirit with Candy Cane Nails
- Why Candy Cane Nails are a Holiday Must-Have
- Essential Tools and Materials for Candy Cane Nails
- Step-by-Step Guide to Creating Candy Cane Nails at Home
- Creative Candy Cane Nail Designs to Try
- Overcoming Common Candy Cane Nail Challenges
- How to Care for Your Festive Candy Cane Nails
- Embrace Your Candy Cane Nails: Next Steps
Introduction: Embrace the Holiday Spirit with Candy Cane Nails
The holiday season is upon us, and what better way to dive into the festivities than with a delightful set of candy cane nails? As a mom of three lively girls, our home is always buzzing with holiday excitement. Last year, we decided to try something different: creating candy cane nail designs. Imagine our kitchen table, covered in tiny bottles of nail polish and giggles echoing as we painted our nails with red and white stripes. These moments, filled with warmth and creativity, have become a cherished tradition for us.

✨ ✨ Transform your space with enchanting pink garlands this Christmas!
Enhance your holiday decor with a luxurious 5.9 ft pink garland adorned with magnolias.
Candy cane nails are more than just a fashion statement; they are a playful expression of holiday cheer that brings joy to everyone around. Whether you’re attending a festive gathering or simply enjoying a cozy night with family, these nails add a touch of whimsy and sophistication to your look. Let’s explore how you can bring this magical holiday spirit to your fingertips.
Why Candy Cane Nails are a Holiday Must-Have
The charm of candy cane nails lies in their timeless appeal. These patterns have been a holiday staple for decades, and their association with Christmas is undeniable. Red and white Christmas nails evoke nostalgia and remind us of the sweet treats we all adored as children. They add a playful twist to any holiday outfit, seamlessly blending elegance with a touch of fun.
One of the best things about candy cane nails is their versatility. You can tailor them to suit your personal style, whether you prefer a classic stripe or something more intricate. The red and white color palette is universally flattering and can complement any holiday ensemble, from a chic little black dress to cozy winter sweaters. If you’re searching for a broader range of inspiration, Cute styles for nails can offer some creative ideas beyond the holiday season.
According to Nail Art Designs, candy cane nails continue to be a favorite during the holiday season because they embody the spirit of festivity and creativity. So why not indulge in this merry trend and let your nails tell a story of holiday cheer?
Essential Tools and Materials for Candy Cane Nails
Embarking on your candy cane nail journey requires a few essential tools and materials. Here’s what you’ll need to create those perfect stripes:
- Red and white nail polish: These are your primary colors. Opt for shades that are vibrant and long-lasting.
- Striping tape: This is crucial for achieving those clean, straight lines.
- Dotting tools: Useful for adding details or creating polka dot designs.
- Top coat: A good top coat will protect your design and add a glossy finish.
When choosing your shades, consider a classic bright red and a pure white for that traditional candy cane look. If you’re feeling adventurous, you might even try a glittery red for a little extra sparkle. According to StyleCraze, using high-quality polishes will ensure your designs last through the holiday season.
Step-by-Step Guide to Creating Candy Cane Nails at Home
Creating candy cane nails at home is easier than you think. Here’s a step-by-step guide to get you started:
- Preparation: Begin by cleaning your nails and shaping them to your desired length. Apply a base coat to protect your nails and create a smooth surface for your polish.
- Base Color: Choose either red or white as your base color and apply two coats, allowing each to dry thoroughly.
- Striping: Once your base is dry, use striping tape to create stripes across your nails. Carefully paint the contrasting color over the tape, then remove the tape to reveal crisp lines.
- Details: Add some glitter accents or incorporate additional colors for a unique twist. A touch of silver or gold can elevate the look and add a festive sparkle.
- Finish: Seal your design with a top coat to add shine and increase durability. This step is crucial for preventing chips and maintaining the design throughout the season.
Remember, practice makes perfect, and even little mistakes can add character to your design. So enjoy the process and let your creativity flow!
Creative Candy Cane Nail Designs to Try
Once you’ve mastered the basics, it’s time to get creative! Here are some playful candy cane nail designs to inspire your next festive look:
For a simple yet stylish design, try alternating stripes of red and white on each nail. If you’re feeling a bit more adventurous, add holly leaves or snowflakes to your candy cane pattern. You can even mix in some green or silver accents for that extra holiday flair.
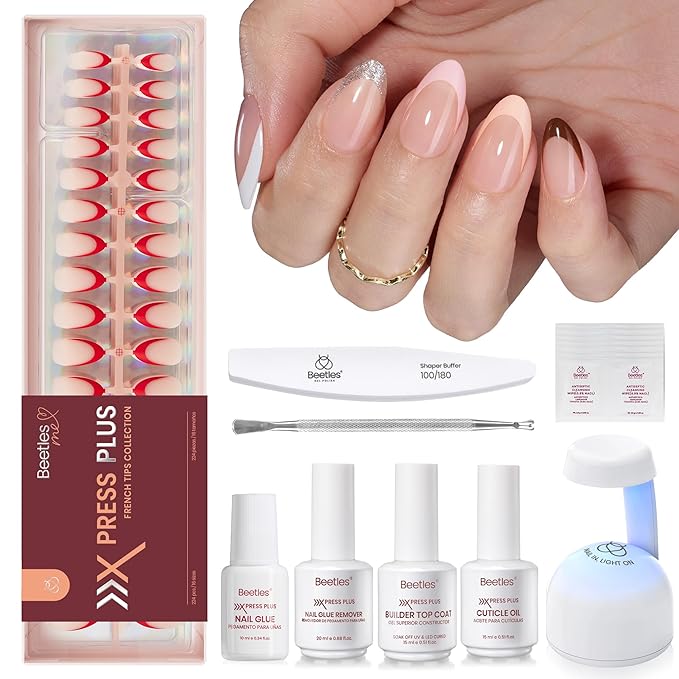
💅 💅 Transform Your Nails at Home Instantly!
Create salon-quality nails at home with Beetles’ all-in-one gel nail kit.
For those who love a bit of sparkle, consider a glittery top coat or tiny rhinestones to mimic the shimmer of snow. These additions can make your nails truly stand out at any holiday party. If you’re interested in even more creativity, check out Cute and creative nail art for more unique ideas.
Visual inspiration can make all the difference. Pinterest and Instagram are treasure troves of ideas, and you might even find designs you didn’t know you wanted to try. Remember, your nails are a canvas for your holiday spirit, so have fun with them!
Overcoming Common Candy Cane Nail Challenges
Even the most experienced nail artists can run into a few snags when creating candy cane nails. Here are some tips to help you troubleshoot common challenges:
Smudging: This often happens when layers don’t dry properly. To avoid this, make sure each layer is completely dry before applying the next. A quick-dry top coat can also help set your design quickly.
Uneven Lines: If your stripes aren’t as straight as you’d like, using a fine brush to correct them can work wonders. Striping tape is a lifesaver here, ensuring clean lines every time.
For mistakes or smudges, a small brush dipped in nail polish remover can help you tidy up without starting from scratch. Patience is key, and with a little practice, you’ll be painting perfect candy canes in no time!
How to Care for Your Festive Candy Cane Nails
To keep your candy cane nails looking fresh throughout the holiday season, follow these care tips:
- Use a quality top coat: Regularly applying a top coat can prevent chipping and preserve shine.
- Moisturize cuticles: Keep your nails healthy by moisturizing your cuticles with a nourishing oil.
- Avoid harsh chemicals: Protect your design by wearing gloves when cleaning or doing dishes.
According to Healthline, maintaining nail health is just as important as the design itself. By taking care of your nails, you ensure they remain a vibrant part of your holiday attire.
Embrace Your Candy Cane Nails: Next Steps
Now that you’re armed with all the tips and tricks for creating stunning candy cane nails, it’s time to give them a try! Share your creations on social media with friends and family, and don’t forget to tag us at Let There Be Cute for a chance to be featured.
If you’re eager for more holiday nail inspiration, explore our blog for a treasure trove of festive ideas. From glittery designs to intricate patterns, there’s something for everyone. Be sure to subscribe to Let There Be Cute for updates on the latest lifestyle trends and keep the holiday spirit alive all year round! If you’re up for more creative activities, make sure to Explore Festive Craft Activities and let your imagination run wild.

🎄 🎄 Elevate Your Holiday Decor with Elegant Wooden Tree Signs!
Adorn your home with these charming wooden tree signs, perfect for festive tabletops and mantels.
Frequently Asked Questions
How can I make my candy cane nails last longer?
To ensure your candy cane nails last longer, apply a top coat every couple of days to maintain shine and prevent chipping. Also, avoid using your nails as tools and protect them from harsh chemicals by wearing gloves during chores.
What if I don’t have striping tape?
If you don’t have striping tape, you can use a fine-tipped brush or a toothpick to create stripes. It might take a bit more practice, but with a steady hand, you can achieve clean lines.
Can I use gel polish for candy cane nails?
Yes, gel polish is a fantastic option for candy cane nails as it tends to last longer and provides a glossy finish. Just ensure you have the proper equipment for curing the gel polish.
What other colors can I incorporate into my candy cane nail design?
Besides the classic red and white, you can experiment with silver, gold, or green for a festive touch. Glittery polishes can also add a fun sparkle to your design.
How do I fix smudged nail polish?
If you notice smudging, dip a small brush in nail polish remover and gently correct the smudged area. Be sure to let each layer dry fully before applying the next to prevent future smudges.
Want more fun, witty, and inspiring ideas?
Subscribe for weekly updates, exclusive tips, and cute gift ideas you’ll love!
Loved these ideas? Share the cuteness with your friends!
Your shares help us keep creating fun, inspiring gift guides for everyone!