Estimated reading time: 11 minutes
7 Heartwarming Fall Ombre Nails to Inspire Your DIY Fun
Table of Contents
- Welcome to the World of Cozy Fall Nails
- Understanding Ombre Nails and Mastering Gradient Techniques
- Why Fall Ombre Polish is a Must-Try for Nail Art Lovers
- Step-by-Step Tutorial: DIY Fall Ombre Nails
- Product Recommendations for Gorgeous Fall Ombre Nails
- Troubleshooting Common Ombre Nail Issues
- Inspire Your Next Nail Art Adventure
- What to Do Next to Share Your Nail Art Masterpiece
Welcome to the World of Cozy Fall Nails
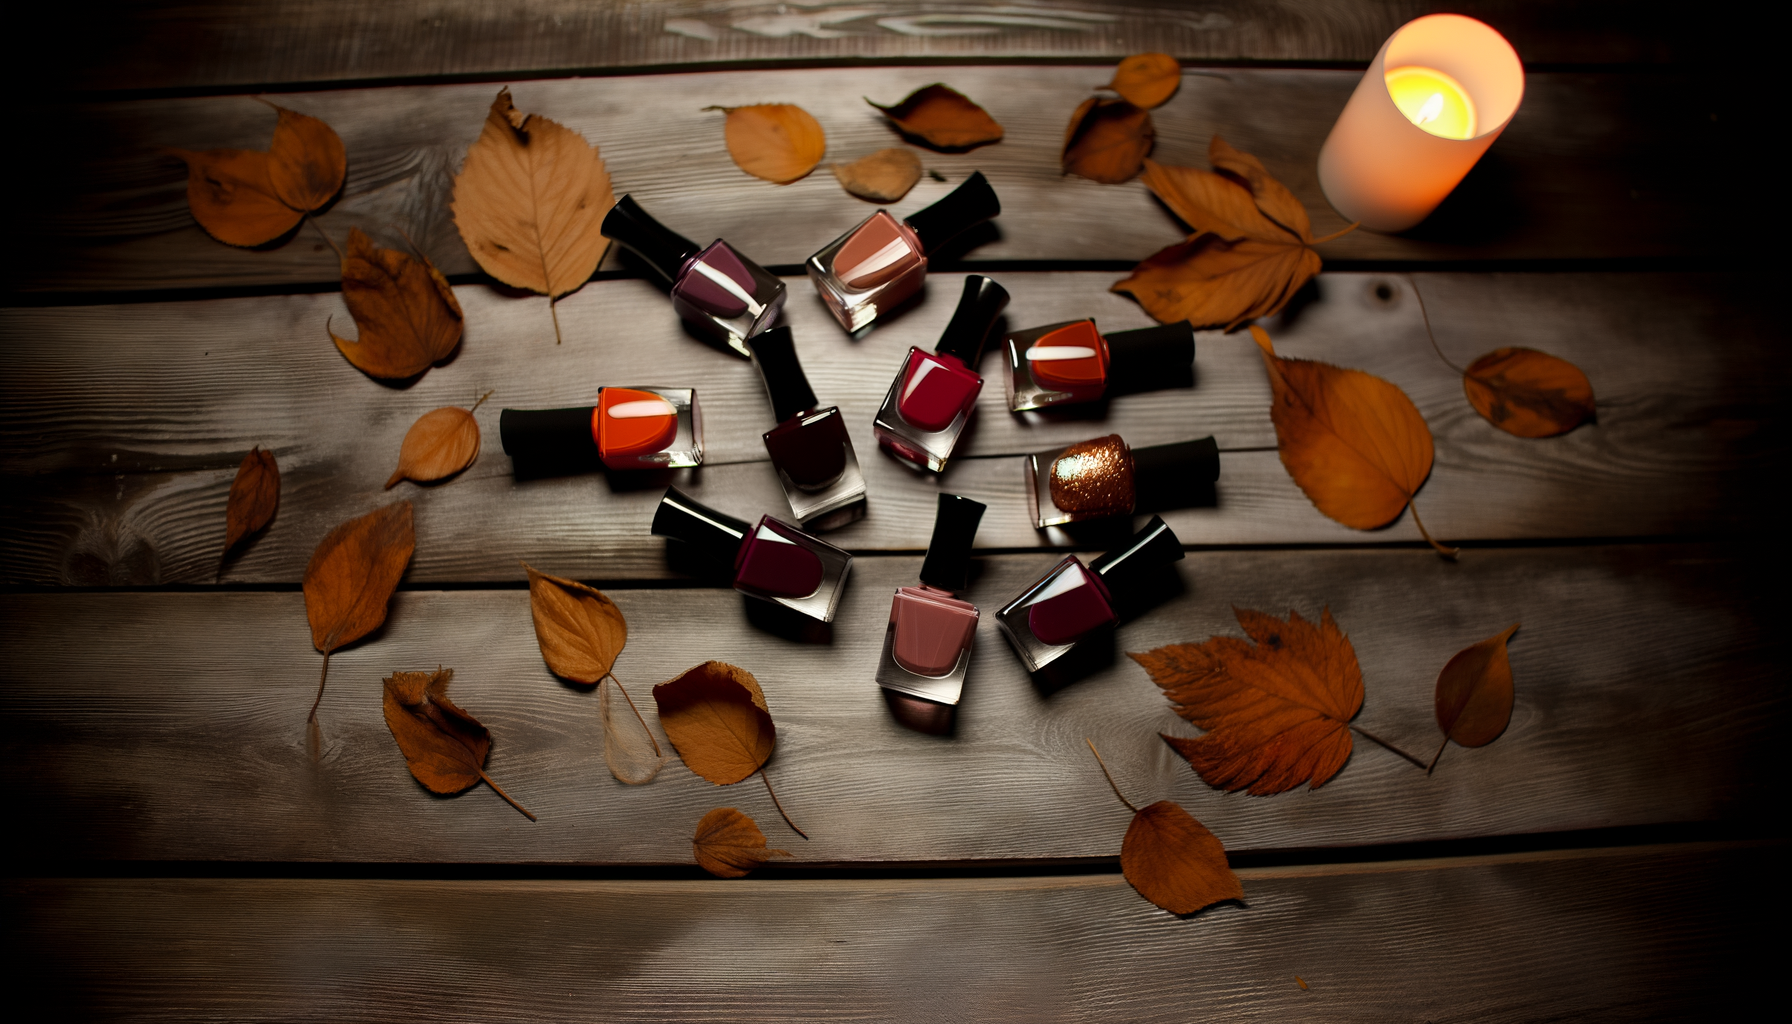
Ah, fall! That magical time of year when the air turns crisp and the world is painted in hues of gold, amber, and crimson. It’s also the perfect season to cozy up and indulge in a bit of self-care. One of my favorite ways to embrace the changing seasons is through nail art, especially with the enchanting trend of ombre nails. This design technique allows you to create a seamless color gradient on your nails, offering an elegant and versatile look.
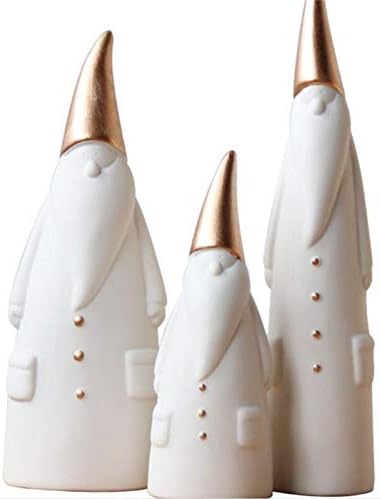
🎅 🎅 Elevate your holiday decor with these charming Santa figurines!
Adorn your space with delightful ceramic Santas, perfect for holiday cheer!
Imagine sipping your pumpkin spice latte while admiring your nails that mirror the warm, rich colors of fall. Whether it’s the deep browns, nudes, or the striking burgundies, each shade tells a story of its own. And the best part? You can easily create these stunning designs right at home. In this guide, I’ll walk you through the process of crafting beautiful fall ombre nails, helping you to tap into your creativity and perhaps even bond with friends or family over a fun DIY session.
As a mom of three daughters, I’ve found that creating nail art together is not just about the finished look but about the joy and laughter we share in the process. So, grab your nail kit and let’s get ready to dive into the warm and cozy world of fall ombre nails!
Understanding Ombre Nails and Mastering Gradient Techniques
Ombre nails have become a beloved trend in the beauty world, and it’s easy to see why. This style involves blending two or more colors to create a gradient effect, where each shade seamlessly transitions into the next. It’s like a sunset on your fingertips, offering a wide array of possibilities depending on the colors you choose.
For fall, ombre nails take on a whole new dimension. The season’s palette is ripe with opportunity, allowing you to experiment with rich, warm tones that capture the essence of autumn. Think of the deep browns reminiscent of fallen leaves, the nudes that echo cozy knit sweaters, and the burgundies that bring to mind a glass of mulled wine by the fire.
This gradient technique isn’t just for the fall, though. It’s adaptable to any season, and with a little creativity, you can tailor your nails to match any occasion or mood. Whether you’re a seasoned nail artist or a beginner, ombre nails offer a fun and stylish way to express yourself. You can also check out DIY vibrant nail ideas for other exciting inspirations.
Why Fall Ombre Polish is a Must-Try for Nail Art Lovers
There’s something undeniably charming about fall colors. They have a way of enhancing any style or skin tone, bringing warmth and depth to your overall look. Fall ombre polish is not just about aesthetics; it’s a form of creative expression. Each gradient tells a story, reflecting the mood and personality of the wearer.
Personally, I’ve found that experimenting with fall ombre nails allows me to play with color in new and exciting ways. It’s a fantastic way to elevate your style and bring a touch of seasonal magic to your everyday life. Whether you’re heading to a family gathering or enjoying a quiet day at home, fall ombre nails can complement any setting, adding a splash of personality to your look. And why not Enhance autumn with cozy treasures to match your stunning nails?
Step-by-Step Tutorial: DIY Fall Ombre Nails
Step 1: Prepare Your Nails for Fall Ombre Magic
Before you dive into the fun of painting, it’s essential to prepare your canvas—your nails! Start by removing any old polish and giving your nails a good clean. This ensures that the new polish adheres well and lasts longer. Next, trim and shape your nails to your desired length and style using a nail file. A gentle buffing will smooth out any ridges, providing a perfect base for your ombre design.
Don’t forget about your cuticles! Use a cuticle pusher to gently push them back, giving your nails a neat and tidy appearance. Gather your materials, including a nail file, buffer, cuticle pusher, and a small bowl of warm water to soak your hands if needed. This preparatory step sets the stage for a flawless application, so take your time and enjoy the process.
Step 2: Select Your Perfect Fall Shades
Now comes the exciting part—choosing your fall shades! When selecting colors for your ombre nails, think about the classic autumn palette. Rich browns, soft nudes, and deep burgundies are all excellent choices. The key is to pick shades that complement each other and blend well. You can opt for a monochromatic look with varying tones of the same color or mix and match for a more dynamic effect.
Consider the mood you want to convey. A gradient from a light nude to a deep burgundy can be both sophisticated and dramatic, while a transition from a warm brown to a golden hue might evoke a more earthy and natural vibe. Take a moment to lay out your colors and visualize how they’ll look together. This step is all about setting the foundation for your unique fall ombre creation.
Step 3: Apply Base Coat for a Flawless Finish
With your colors chosen, it’s time to protect your nails with a base coat. This crucial step helps prevent staining and enhances the longevity of your polish. Apply a thin, even layer of base coat to each nail, taking care to cover the entire surface. Allow it to dry completely before moving on to the next step.
A quality base coat can make a world of difference, acting as a primer that smooths the nail surface and provides a perfect canvas for your ombre design. It also adds strength to your nails, reducing the risk of breakage. Think of it as the foundation of a house—strong and reliable, setting the stage for the masterpiece to come.
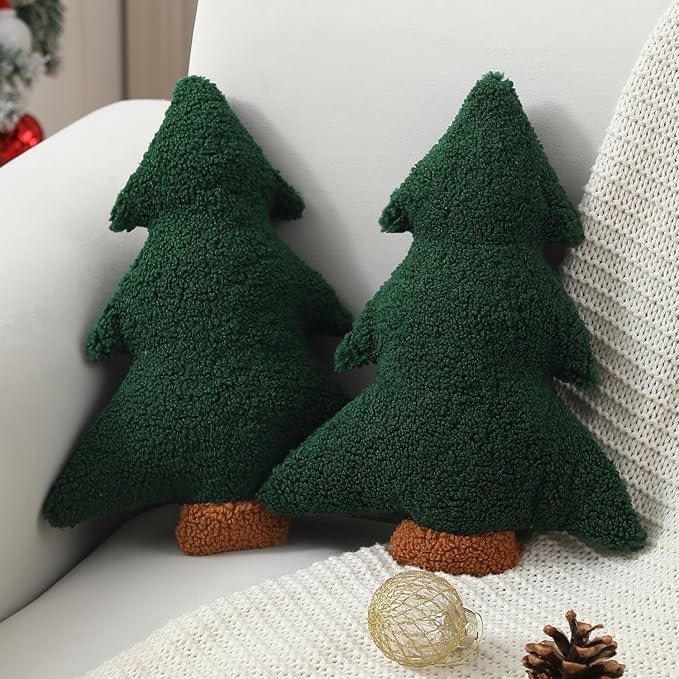
🎄 🎄 Transform your home into a Christmas wonderland with these adorable tree pillows!
Add festive cheer with plush tree-shaped pillows—perfect for holiday decor on couch or bed.
Step 4: Create the Enchanting Gradient Effect
Here’s where the magic happens! To create the gradient effect, you’ll use a makeup sponge. Cut a small piece of sponge and apply your chosen nail polish colors in stripes directly onto the sponge. The order should match the gradient you want on your nails. For instance, if you’re going from nude to burgundy, start with nude at the top and end with burgundy at the bottom.
Press the sponge gently onto your nail, dabbing lightly to transfer the colors. You may need to repeat this process a couple of times to achieve the desired intensity. The key is to blend the colors seamlessly, so take your time and adjust as needed. Don’t worry about the polish getting on your skin; we’ll clean that up later. This step is all about patience and precision, creating that beautiful ombre transition that makes your nails stand out.
Step 5: Finish with a Glossy Top Coat
To seal your design and add a glossy finish, apply a top coat. This step not only enhances the shine but also protects your ombre creation from chipping and fading. A good top coat will smooth out any texture from the sponge application, giving your nails a polished and professional look.
Allow your nails to dry completely, and then use a small brush dipped in polish remover to clean any excess polish from your skin. Voila! You’ve just created stunning fall ombre nails right at home. The top coat is the final touch, locking in your design and ensuring it lasts, so you can enjoy your beautiful nails throughout the season.
Product Recommendations for Gorgeous Fall Ombre Nails
To achieve the best results, it’s important to use quality products. Here are some of my top picks for fall ombre nail polish:
1. OPI Nail Lacquer: Known for its long-lasting formula and vibrant colors, OPI’s fall collection includes beautiful shades like “Espresso Your Inner Self” and “Cinnamon Sweet.”
2. Essie Nail Polish: Essie’s “Playing Koi” is a lovely burnt orange that pairs perfectly with their “In the Lobby” deep burgundy for a classic fall ombre look.
3. Sally Hansen Miracle Gel: For those who prefer gel-like finishes, Sally Hansen offers a range of autumn-inspired shades like “Terra-Coppa” and “Leaf Me Be.”
These brands offer options for various budgets and are widely available, ensuring you can find what’s best for your needs. Investing in good polish not only enhances the look but also the durability of your nail art.
Troubleshooting Common Ombre Nail Issues
Even with the best efforts, ombre nails can present challenges. Uneven blending and polish smudging are common issues, but with a few tips, you can overcome them. If your gradient isn’t blending well, try using a smaller sponge piece for more control, or apply another layer of polish to smooth the transition.
For smudging, patience is key. Allow each layer to dry before applying the next, and use a quick-dry top coat to prevent accidental scuffs. If you find polish on your skin after application, a small brush or cotton swab dipped in polish remover can tidy things up. Remember, practice makes perfect, and each attempt brings you closer to salon-quality results at home.
Inspire Your Next Nail Art Adventure
Once you’ve mastered fall ombre nails, the possibilities are endless. Why not explore other seasonal themes? Winter whites and icy blues, spring pastels, or vibrant summer shades can all be adapted into stunning ombre designs. You could also experiment with adding glitter or nail art decals for extra flair.
Encourage your creativity by trying different techniques, like vertical or diagonal gradients. The world of nail art is vast and full of opportunities for self-expression, so don’t hesitate to step out of your comfort zone and try something new. Who knows? You might discover a signature style that becomes your go-to look for any season. For a touch of inspiration, consider exploring Chic nail ideas for students to keep things fresh and lively.
What to Do Next to Share Your Nail Art Masterpiece
Now that you’ve created your cozy fall ombre nails, why not share your masterpiece? Snap a photo and share it on social media with your friends and family. If you enjoyed this tutorial, explore more nail art ideas on our blog and subscribe for regular updates. We have plenty of lifestyle and gift-giving inspiration to keep your creative juices flowing. Happy painting!
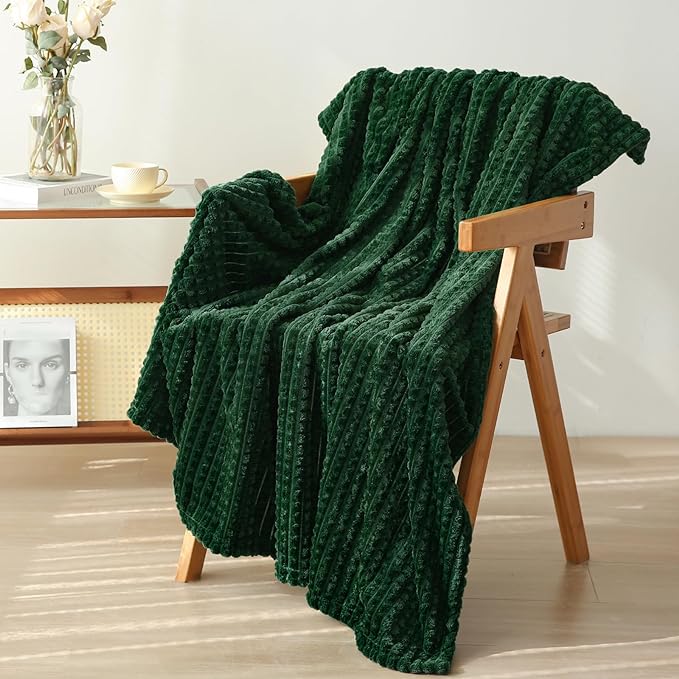
🛋️ ✨ Transform Your Space with Luxurious Comfort!
Experience ultimate softness with our plush, lightweight throw blanket in stylish dark forest green.
Frequently Asked Questions
Q: Can I use gel polish for ombre nails?
A: Absolutely! Gel polish can be used for ombre nails and often offers a longer-lasting finish. Just be sure to cure each layer under a UV lamp as you go to ensure a perfect set.
Q: How do I clean up the polish on my skin?
A: Use a small brush or a cotton swab dipped in polish remover to carefully clean around your nails. This will help define the edges and give your nails a professional look.
Q: How long does it take for ombre nails to dry?
A: It typically takes about 15-20 minutes for each layer to dry, but using a quick-dry top coat can speed up the process. Make sure your nails are completely dry before engaging in any activities that could smudge them.
Q: What should I do if my ombre doesn’t blend well?
A: If your ombre isn’t blending as smoothly as you’d like, try dabbing the sponge more gently and use a smaller piece for precision. You can also layer more polish to achieve a better gradient.
Q: How can I make my ombre nails last longer?
A: To extend the life of your ombre nails, apply a top coat every few days to maintain shine and prevent chipping. Avoid using your nails as tools, and wear gloves when doing chores to protect the polish.
Want more fun, witty, and inspiring ideas?
Subscribe for weekly updates, exclusive tips, and cute gift ideas you’ll love!
Loved these ideas? Share the cuteness with your friends!
Your shares help us keep creating fun, inspiring gift guides for everyone!