
Estimated reading time: 5 minutes
7 Sparkling Snowflake Nail Art Ideas to Warm Your Heart
Table of Contents
- Introduction: Discover the Magic of Snowflake Nail Art
- Why Snowflake Nail Art is the Perfect Winter Accessory
- Essential Tools and Materials for Snowflake Nail Art
- Inspiring Snowflake Nail Art Ideas to Try
- Step-by-Step Guide to Crafting Snowflake Nail Art
- Tips for Caring for Your Snowflake Nails
- What to Do Next
Introduction: Discover the Magic of Snowflake Nail Art
As winter’s first snowflakes gently fall, transforming the landscape into a sparkling wonderland, it’s the perfect time to let your nails join the celebration. Snowflake nail art beautifully captures the essence of the season, bringing a touch of magic to your fingertips. Imagine cozy evenings by the fire, sipping cocoa, while your nails twinkle with the elegance of snowflakes. This art isn’t just a trend; it’s a joyful expression of winter’s festive spirit. Whether you’re off to a holiday gathering or enjoying a peaceful night in, snowflake nails add a sprinkle of enchantment to your winter style. Let’s explore how you can create this wintry charm on your nails!
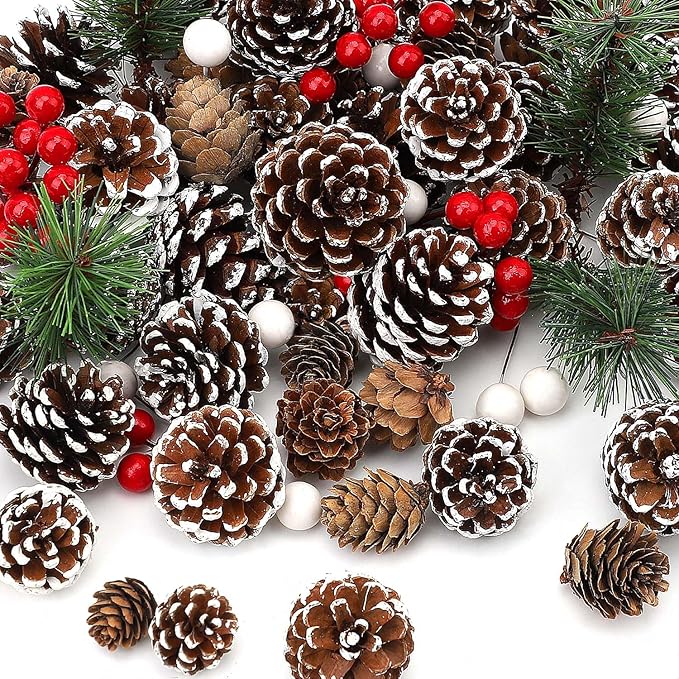
🎄 🎄 Transform Your Space into a Winter Wonderland!
Decorate with elegance using 115 pieces of pine cones, berries, and branches.
Why Snowflake Nail Art is the Perfect Winter Accessory
Snowflake nail art is an ageless accessory that enhances any winter wardrobe. Picture yourself in a cozy knit or a stylish coat, with delicate snowflakes gracing your nails, catching the winter light. These designs are wonderfully versatile, pairing effortlessly with casual and formal attire alike. Beyond their beauty, snowflake nails evoke the unique charm of winter. According to Nail Art Trends, 60% of women feel more festive wearing themed nail art. By choosing snowflake designs, you’re welcoming winter with creativity and style.
Essential Tools and Materials for Snowflake Nail Art
Crafting exquisite snowflake nail art at home is simpler than you might think, especially with the right supplies. Here’s what you need to get started:
- Nail Polish: Opt for winter shades like icy blues, silvery whites, and festive reds.
- Nail Art Brushes: Fine-tipped brushes are ideal for detailed designs.
- Dotting Tools: Perfect for adding dots and details to your snowflakes.
- Nail Stickers or Decals: Achieve professional designs effortlessly.
- Base and Top Coat: Protect your design and enhance its longevity.
- Nail Polish Remover: Useful for quick corrections and clean-up.
Choosing quality products ensures your snowflake nails look professional and last through the season. With these tools, achieving salon-quality nails at home is not only possible but also a delightful experience. For more inspiration, explore cute and creative nail art to complement your winter-themed designs.
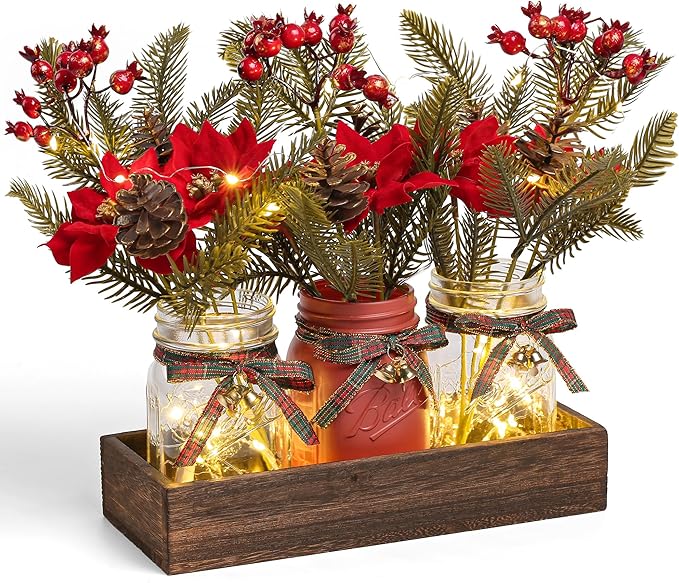
🎄 🎄 Transform your home with festive charm!
Elevate your Christmas decor with these charming mason jar centerpieces. Perfect for any table setting.
Inspiring Snowflake Nail Art Ideas to Try
Ready to unleash your creativity? Here are some inspiring snowflake nail art ideas to spark your imagination:
- Simple Snowflakes: Use a dotting tool for minimalist designs on a solid color. Perfect for beginners.
- Glitter Snowflakes: Add sparkle with glitter polish or sequins, ideal for festive events.
- Gradient Snowflakes: Blend colors for a gradient effect, overlaying with snowflakes for depth.
- Decal Magic: Use winter decals for intricate designs with minimal effort.
Mix and match these ideas with classic winter palettes like frosty blues to capture the season’s essence. Remember, the key is to have fun and let your creativity shine! If you’re looking for more trendy nail art ideas, our blog is full of inspiration to keep your nails stylish all year long.
Step-by-Step Guide to Crafting Snowflake Nail Art
With ideas in mind, let’s walk through creating your own snowflake nail art step by step:
- Prepare Your Nails: Start with clean nails. Apply a base coat for protection and a smooth canvas.
- Choose Your Base Color: Select a wintry hue like icy blue, and paint your nails. Let them dry thoroughly.
- Create the Snowflakes: Using a fine brush, draw snowflakes beginning with a cross, adding lines and dots for detail.
- Add Details: Enhance with additional dots or stars using a dotting tool.
- Seal Your Design: Once dry, apply a top coat to secure your art and add shine, preventing chips.
Personalize your designs to suit your style. Whether intricate or simple, each attempt refines your snowflake nail art skills. Practice makes perfect!
Tips for Caring for Your Snowflake Nails
Keep your snowflake nail art looking fresh all season with these expert care tips:
- Hydration is Key: Use nourishing oil or cream to keep nails and cuticles moisturized.
- Protective Top Coat: Reapply every few days to maintain shine and guard against chipping.
- Avoid Harsh Chemicals: Wear gloves for household chores to protect your nails.
- Quick Fixes: Touch up chips with a small brush and fresh top coat.
Incorporate these simple steps into your routine to enjoy your snowflake nails longer. According to Nail Care Weekly, well-maintained nail art can boost your confidence and add sparkle to daily life. Interested in more creative ideas? Discover creative back-to-school nails that can easily adapt to your personal style.
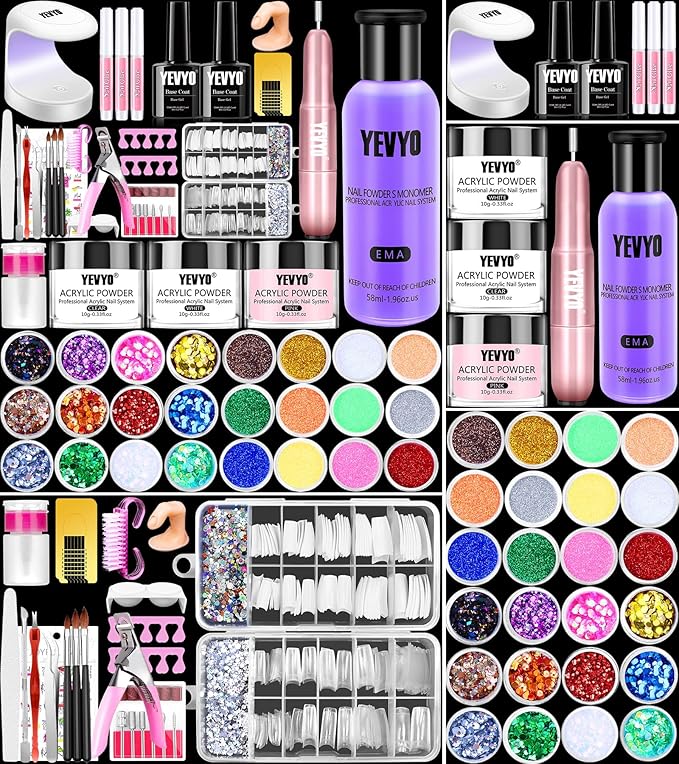
🎨 🎨 Transform your nails into art at home!
Complete acrylic nail kit with drill and UV light for perfect salon nails at home.
What to Do Next
Now that you’re ready to create stunning snowflake nail art, it’s time to unleash your creativity! Try the ideas shared in this post to make your winter season extra special. Share your beautiful nail creations on social media and tag Let There Be Cute for a chance to be featured! We’d love to see your unique snowflake designs. Plus, consider subscribing to our blog for more seasonal inspiration like seasonal gift wrapping tips and explore other posts for winter beauty and lifestyle tips. Let’s make this winter wonderfully creative together!
Want more fun, witty, and inspiring ideas?
Subscribe for weekly updates, exclusive tips, and cute gift ideas you’ll love!
Loved these ideas? Share the cuteness with your friends!
Your shares help us keep creating fun, inspiring gift guides for everyone!