Estimated reading time: 8 minutes
5 Ways a Gel Nail Polish Kit Transforms Family Bonding Time
Table of Contents
- Introduction: The Joy of DIY Manicures at Home
- Essential Components of a Gel Nail Polish Kit
- How to Choose the Perfect Gel Nail Polish Kit
- Step-by-Step Guide: Using Your Gel Nail Polish Kit
- Maintaining Your Gel Manicure’s Freshness
- Beyond Beauty: The Benefits of DIY Manicures
- Taking the Next Steps in Your DIY Manicure Journey
Introduction: The Joy of DIY Manicures at Home
Ah, the joy of a DIY manicure at home! As a busy mom of three delightful daughters, finding time for self-care can often feel like a luxury. But, oh, how transformative those little moments can be! I remember the first time I discovered the magic of a gel nail polish kit. It was a rainy Saturday afternoon, and my daughters and I decided to have a little spa day at home. Armed with our newfound gel nail polish kit, we transformed our living room into a cozy nail salon. Seeing the bright smiles on my daughters’ faces as they admired their salon-quality nails was priceless.
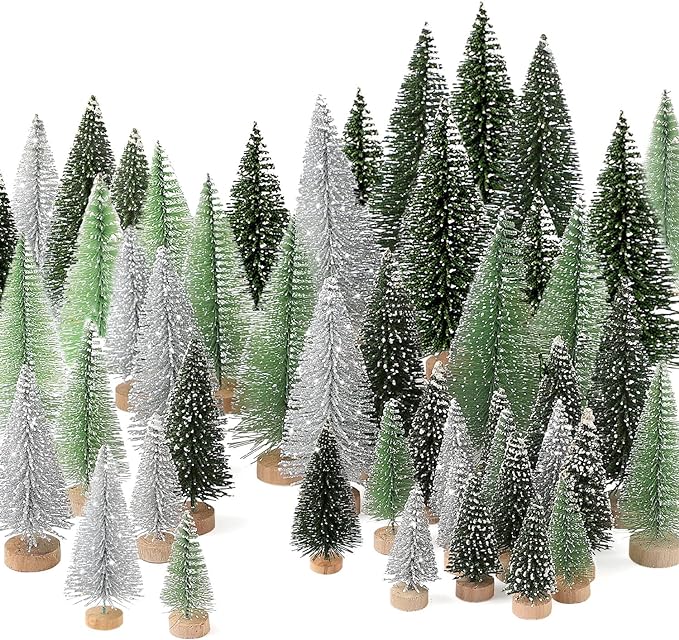
🎄 🎄 Transform your home with festive mini trees!
30-piece set of mini festive trees with wooden bases for table and home decor.
There’s something incredibly satisfying about achieving those professional results without ever leaving the house. The convenience of a gel nail polish kit means no more scrambling for salon appointments. Plus, it’s a wonderful way to bond with my girls, sharing laughs and creativity over a palette of vibrant colors. In this post, I’ll guide you through everything you need to know about embracing the DIY manicure world and the joys it brings. If you’re looking for more ways to unwind, enjoy these cute self-care ideas.
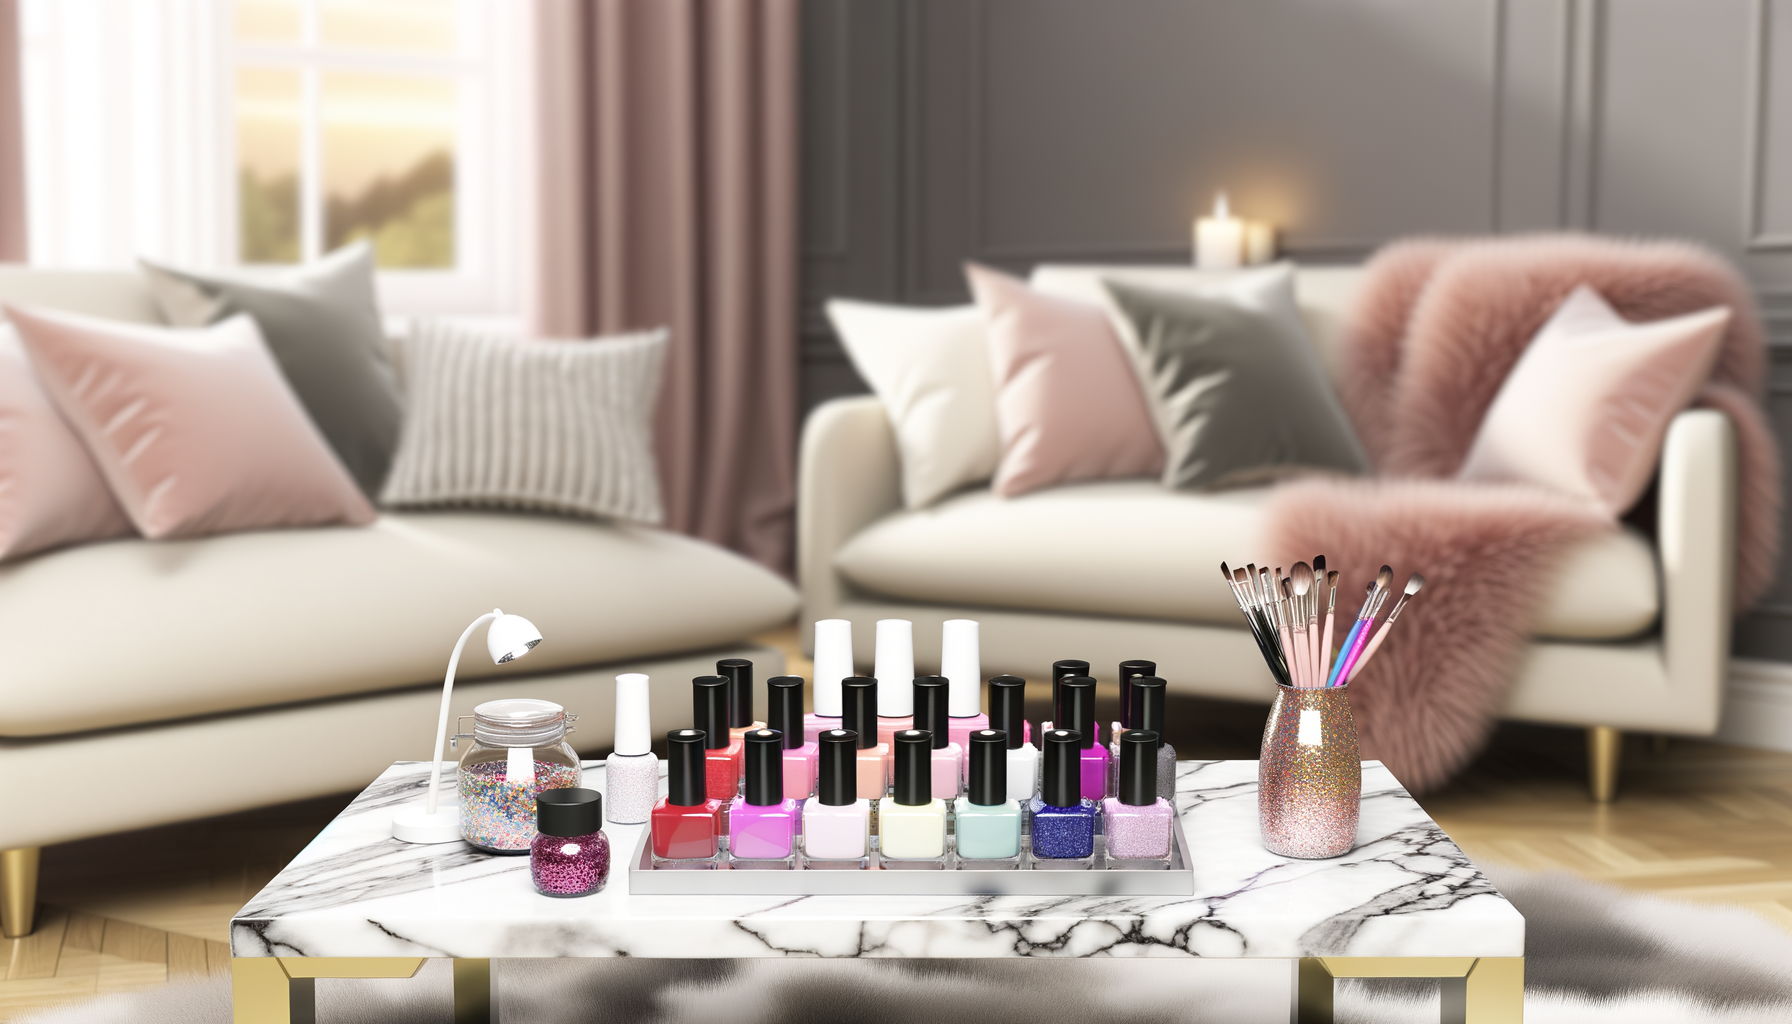
Essential Components of a Gel Nail Polish Kit
When you first open a gel nail polish kit, it feels a bit like uncovering a treasure trove. Typically, these kits come with a few essential components: a selection of gel polishes in various shades, a UV lamp, and a handful of crucial tools like a nail file, buffer, and cuticle pusher. Each element plays a vital role in ensuring you get that flawless, long-lasting finish.

🎄 🎄 Protect your perfect tree with ease this holiday season!
Secure your 7.5 ft Christmas tree in seconds with our durable, spacious storage bag.
The magic really happens with the UV lamp nail kit. This little device is what gives your nails that durable, glossy finish. According to Allure, the UV light cures the polish, making it more resilient than regular nail polish. For beginners, a starter gel polish set simplifies the process, offering everything needed to get started. It’s like having a professional nail technician right in your home, minus the hefty price tag! Investing in a quality kit means you can enjoy salon-worthy nails anytime, without the ongoing costs of salon visits. Explore cute styles for nails if you’re in need of inspiration.
How to Choose the Perfect Gel Nail Polish Kit
Choosing the right gel nail polish kit can feel a bit overwhelming with so many options available. However, by considering a few key factors, you can find one that fits your needs perfectly. First and foremost, look at the quality of the UV lamp. A good lamp will ensure your polish cures correctly and lasts longer. Next, check the range of polish colors included. Does the kit offer a variety of shades that match your style? The more variety, the more creative you can be!
From personal experience, I can vouch for brands like Modelones and Beetles, which offer fantastic starter gel polish sets. They’ve become favorites in our home, especially with my daughters experimenting with new designs and trends. For some cute and creative nail art ideas, you might find these sets inspiring. Also, consider the variety of tools offered in the kit. The right tools can make the process smoother and more enjoyable. Tailoring your choice to fit your personal style and needs can make all the difference in your DIY manicure adventures.
Step-by-Step Guide: Using Your Gel Nail Polish Kit
Using a gel nail polish kit might seem daunting at first, but with a little guidance, you’ll be a pro in no time. Here’s a step-by-step guide to help you along the way:
Step 1: Prepare Your Nails – Start by cleaning your nails thoroughly. Remove any old polish, trim, and file your nails to your desired shape. Use a buffer to gently roughen the surface of your nails, which helps the gel polish adhere better.
Step 2: Apply Base Coat – Apply a thin layer of the base coat included in your kit. Be sure to cap the edges of your nails to prevent peeling. Cure under the UV lamp for the recommended time.
Step 3: Apply Gel Polish – Apply a thin layer of your chosen gel polish color. It’s better to apply several thin layers rather than one thick layer. Cure each layer under the UV lamp.
Step 4: Finish with Top Coat – Apply the top coat to seal the color and add shine. Cure it under the UV lamp.
If you encounter issues like chipping or peeling, it might be due to improper nail prep or applying polish too thickly. With time and practice, these little hiccups will become rare as you gain confidence in your skills.
Maintaining Your Gel Manicure’s Freshness
Once you’ve achieved that perfect manicure, maintaining it is key to keeping it fresh and long-lasting. One of the simplest ways to extend the life of your gel manicure is by wearing gloves when doing chores like washing dishes. This prevents unnecessary wear and tear on your nails.
Regular touch-ups using your starter gel polish set can also help keep your manicure looking fresh. If you notice any chips, a quick reapplication of polish and curing under the UV lamp can work wonders. When it’s finally time to remove your gel polish, be sure to do it gently. According to Healthline, soaking the nails in acetone and using a cuticle pusher to gently remove the polish prevents damage to your natural nails. Proper removal is crucial to maintain your nails’ health and strength. Check out trendy nail art ideas to keep your style fresh and exciting.
Beyond Beauty: The Benefits of DIY Manicures
Beyond the beauty aspect, DIY manicures offer so much more. It’s a chance to relax, unleash creativity, and spend quality time with loved ones. I cherish those bonding moments shared with my daughters over our UV lamp nail kit. It’s not just about the nails; it’s about the laughter, the stories shared, and the memories created.
Gifting a gel nail polish kit can also be a thoughtful gesture, offering someone else the joy of creativity and self-care. It’s a gift that keeps on giving, fostering shared experiences and strengthening bonds. Whether it’s a quiet evening alone or a vibrant family activity, the benefits of a DIY manicure go well beyond just having great nails. For more activities, consider enjoying crafting fun with family.
Taking the Next Steps in Your DIY Manicure Journey
Feeling inspired to try your hand at a DIY manicure? Start by exploring different gel nail polish kits to find one that resonates with your style and needs. Don’t be afraid to experiment and discover what works best for you. And remember, practice makes perfect!
If you’ve enjoyed this journey into the world of DIY manicures, consider subscribing to our blog for more tips, reviews, and delightful gift ideas. We’d love to hear about your own manicure experiences or see your favorite nail art designs. Share your stories in the comments or connect with us on social media. Happy manicuring!

🔔 ✨ Elevate Your Space with Stunning Tibetan Cow Bells!
Add a mystical charm with handcrafted Tibetan cow bells on jute rope.
FAQ
Q1: How long does a DIY gel manicure typically last?
A DIY gel manicure can last anywhere from two to three weeks, depending on how well you prepare and maintain your nails. Ensuring proper nail prep and using quality products can extend the life of your manicure.
Q2: Can I use a regular nail polish with a gel top coat?
Yes, you can use regular nail polish with a gel top coat. However, ensure that the regular polish is completely dry before applying the gel top coat and curing under a UV lamp to avoid any smudging or peeling.
Q3: Are there any safety concerns with using a UV lamp?
While UV lamps are generally safe, it’s advisable to limit exposure. You can apply sunscreen on your hands before using the lamp as an extra precaution. Alternatively, look for LED lamps, which are a safer option with less UV exposure.
Q4: How do I prevent my gel polish from chipping?
To prevent chipping, ensure you properly prep your nails by buffing and cleaning them. Apply thin layers of polish and make sure to cap the edges of your nails. Regular touch-ups and wearing gloves during chores can also help maintain your manicure.
Q5: What’s the best way to remove gel polish at home?
The best way to remove gel polish is by soaking your nails in acetone. Use a cuticle pusher to gently lift the polish after soaking. Avoid peeling or scraping the polish off as this can damage your natural nails.
Want more fun, witty, and inspiring ideas?
Subscribe for weekly updates, exclusive tips, and cute gift ideas you’ll love!
Loved these ideas? Share the cuteness with your friends!
Your shares help us keep creating fun, inspiring gift guides for everyone!